
This is not really a guide on a blow by blow basis; its really more of an expansion of a previous post (https://braintreeclockrepairs.co.uk/2016/01/16/how-to-service-a-carriage-clock-yourself/)
Read that if you want to know how to perform the mechanics, this post just shows the progression of taking the movement apart and some cleaning tips.
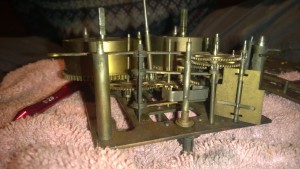
Providing you are reasonably competent from a mechanical skills perspecitve cleaning a clock is well within your capability. There are a few tricks but basicly its dissasembly, cleaning and then re-assembly in reverse order. The following slides show an 8 day movement. It has a one tone chime and strikes the hour and the half hour. Not the simplest of movements but not the most difficult either.
This assumes you have taken the movement out of the clock already. In this case I removed it from a viennese regulator I had in for a full service. Note the that movement sits on a towelling rag all the way through. This is excellent for balancing and holding the movement firmly but without being too firm as you need to move the whole thing around quite a lot with your hands.
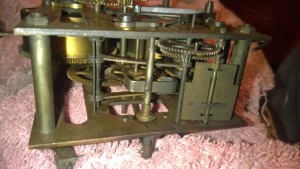
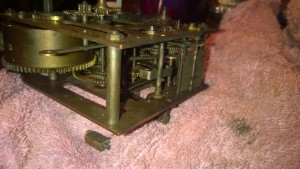
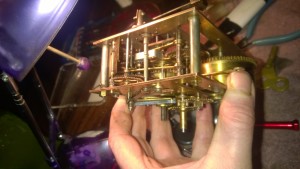
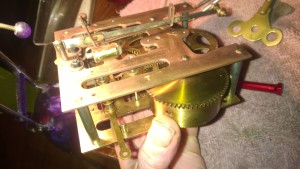
The two shots above demostrate very well how dirty a clock needs to be before you take it apart. This one was actually stopped when it came to me as the black oxides on the metal had become so thick that the interfered with the mechanics on the moving parts such as cog faces and spindle axles. Add to this the contiual build up of dust in the oiled spindle holes (to form a resistant gunge) and the clock simply wont work properly.
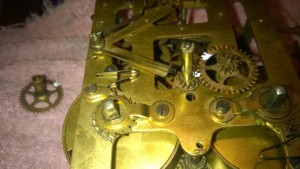
You will need to remove the central spindle components before taking of the top plate. Apart from this most of the mechanics on the top plate are self contained and come away with the plate.
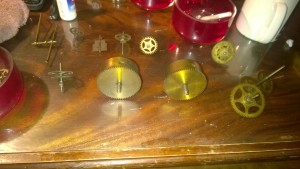
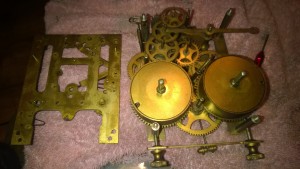
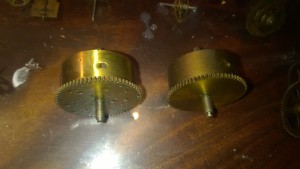
Once the plates off then take a set of photos of the cog layout. You will refer back to this on re-assembly. Also, note the photo that shows the parts layed out for cleaning in the order in which they were removed. You will find that you must follow this order of re-assembly, or the cogs wont all fit!.
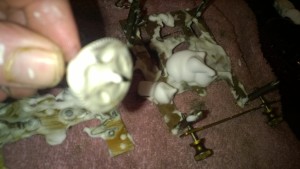
Clean the cogs and the plates. Simple. Use a toothbrush and regular cleaning materials. Dental floss brushes are excellent for getting into the spindle holes on the plate which really do need a thorough clean out.
At the end of this long process you will end up with beauty!… as well as working clock.
Recent Comments